How to make a Rollover / Mouse Over image link


| | 23 comments
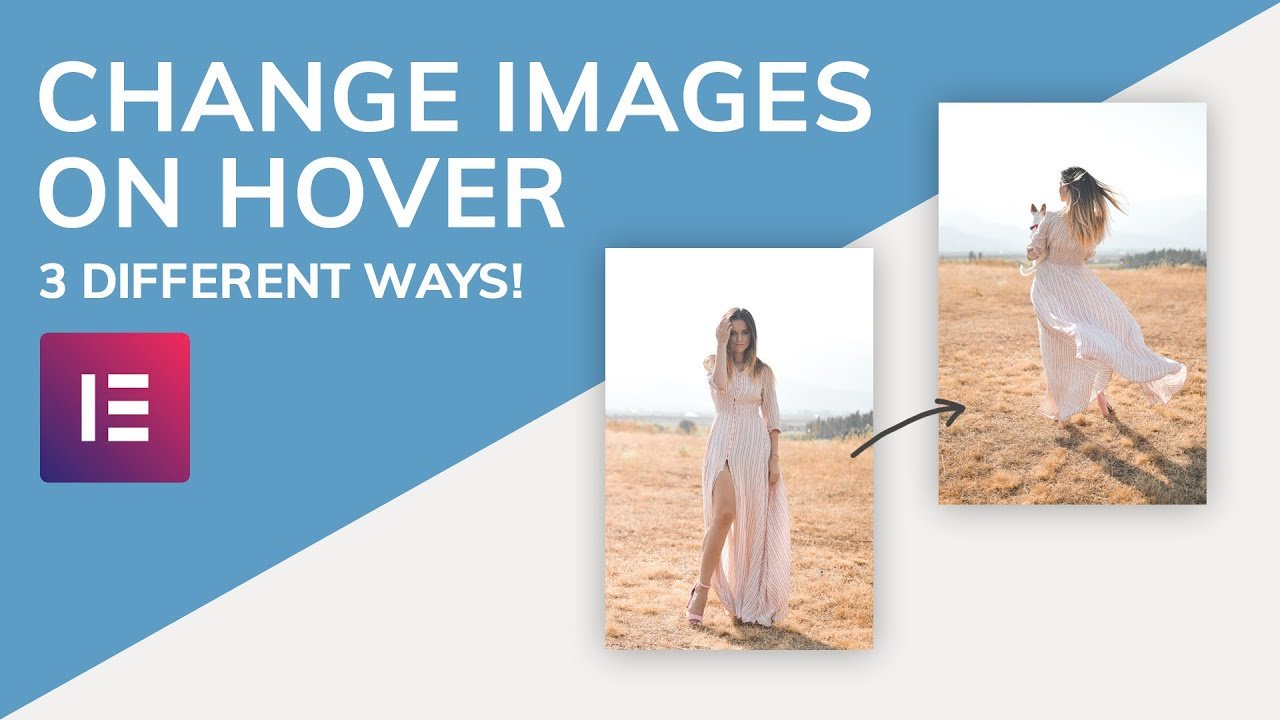
A rollover or mouse over image is a great image effect you will have seen used on lots of blogs and websites.When you use this effect with an image you add to your blog the image will change to differant image once you hover your cursor over it.It's also a very easy to use and can have so many uses.

Here's a preview of a rollover image :

Place your cursor over the image to see it change:


The image is also a clickable link so you can use it as a link on your blog.

More Examples : Kate the author of Cronicles Of A Country Girl has used this effect to display two versions of photos.In her words "Basically, what I wanted to show on my blog was the original photo, but if you move your mouse over it, you’d be able to see the SOOC version. (SOOC means Straight Out Of Camera). "You can check out how the results here - Kates Mouseover Images

Making a rollover image is quick and easy heres the steps :

This is the code we use to make the image.

<a href="TARGET URL GOES HERE"><img src="URL OF FIRST IMAGE GOES HERE" onmouseover="this.src='URL OF SECOND IMAGE GOES HERE'" onmouseout="this.src='URL OF FIRST IMAGE GOES HERE'" /></a>

You now need to customize the code by adding the images you want to use and the address you want it to lead to when clicked.

In the above code change the following:

1.TARGET URL GOES HERE

Place the address you want the image to lead to when it's clicked.
Example : http://www.spiceyupourblog.com

2.URL OF FIRST IMAGE GOES HERE (x2)

Place the URL of the first image here this is the image shown before you hover over it.
Example: http://i941.photobucket.com/albums/ad259/spiceupyourblog/info.jpg

3.URL OF SECOND IMAGE GOES HERE
Place the URL of the second image there, this is the image that appears when your cursor hovers over it.
Example : http://i941.photobucket.com/albums/ad259/spiceupyourblog/Blogger-2.png


We Are Nearly Finished - If you need more help or have an opinion or suggestion Please leave a comment Below.
This is a Do-Follow Blog so leaving a comment will also help Your blogs Google rank.

Once the changes are made your done you can place the image in your blog posts/sidebar or anywhere html can be used.

Another Cool Effect For Your Images Is The Opacity Blurred Hover Effect Check It out.

Thats it a nice easy trick that can be used in so many ways, Do you like it ?
If You Enjoyed This Post Please Take 5 Seconds To Share It.

Stay Connected With Free Updates

Subscribe via Email

23 comments:

  1. Thanks for posting such amazing things.
    ReplyDelete
  2. So simple and easy to follow thank you! Worked perfectly first time!
    ReplyDelete
  3. Thanks Brumby,

    Its a great effect, if you seen it on a blog or website you would think 'I would like to do that but i bet it would need a lot of code'.

    Its amazing how some of the best tricks are the easiest ones.

    Paul.
    ReplyDelete
  4. Thankyou for the tip - I have just made a logo so this will be so useful.
    ReplyDelete
  5. Hi Leaves, thanks for the comment if you need more help just ask.

    Paul.
    ReplyDelete
  6. Once I have completed the code with my 2 images URL ( I use tinypics ) Can I go into Blogger, Get Gaget, HTML/Java Script/ and add the code in there?
    I am excited to figure this out and have before and after images on my site just like Florabella! Yeah! Thank you for posting!
    My site:www.amelyajaynephotography.com I will be doing all rollover images on my "Darkroom" page. It is listed under "For Photographers".

    Thanks!
    ReplyDelete
  7. I don't understand the target URL. Where would I be pointing to. What address goes in there?

    I am trying to create a roll over on my blog.

    Thank you.
    ReplyDelete
  8. @ JJ - The target URL is the address people will go to if they click the image.You can put any address there or you just could leave it blank.
    ReplyDelete
  9. @ Kathleen - Yep well done you can add the images to a Html/Javascript gadget.Remember the space in your sidebars will be limited so make sure the images are not too big.
    ReplyDelete
  10. great tutorial! I like that this doesn't require any alteration to the < head >. :)
    ReplyDelete
  11. Thank you Paul for your advice.
    ReplyDelete
  12. Hello again Paul.

    I wonder if you could help me with this on roll-overs. I followed your code and have succeeded with a good roll-over on my blog. But now I'm finding I can't create one that is clear. The images are appearing blurred...I can't understand it. When I first click on the image in blog editor the image looks fine but then goes blurred.

    Can you please help?

    Thank you.
    ReplyDelete
  13. @ JJ - It could be the images or the sizes of images your using.The code for the rollover image wont effect the image display.
    ReplyDelete
  14. Hi Paul

    I have resolved it today. What I was doing wrong was this.

    When I uploaded my images from my pictures done in Serif Drawplus into the ‘add images’ box on my blog, I was right clicking on the thumbnail then clicking on properties for the URL.

    What I should have done and did do, was add the selected images into compose in the blog editor and then right click on the added images for the URL. This then gave me much larger images which do not distort. Then using your example and substituting I came out with perfectly sharp images. It doesn’t appear to matter about the size of image created in Drawplus, all sizes work fine.

    Many thanks.
    ReplyDelete
  15. Thank you SO MUCH!!! I have been looking all over for a simple way to do this and this tutorial is PERFECT and worked right away!!!! Great job.
    ReplyDelete
  16. I would truly love to learn this. It seems so simple, but since I'm not very savvy, can you tell me what the initial step is? I have uploaded the images in Photobucket so I can get a URL of each. Do I start the post in Blogger by uploading the image or just typing the HTML code. I attempted to copy your HTML but when I add to by post it is grayed out. Thanks for your help.
    ReplyDelete
  17. @ Marilyn - I you have the images on Photobucket you need to copy the direct URL from Photobucket into the positions shown in the code.
    ReplyDelete
  18. Hey Paul,

    Thanks for share something like this.

    Since i'm a new comer to this blog thing, i need so many read the trial and error for myself. Your explanation just gave me a huge help!

    again, Thank You!
    ReplyDelete
  19. Thanks for the rollover tip. I can't wait to give it a try.

    http://www.kjlovesphotography.blogspot.com

    Bright blessings,
    Kathy
    ReplyDelete
  20. thanks and tried - works great
    could the second picture be an animated gif?
    ReplyDelete
  21. Hi Paul

    For sometime I've been able to create rollovers with your help in Blogger, but now I've been unable to do so because of cross-site scripting notification. I can put the images into your code but no rollover.

    I have disabled XXS(filter), and allowed mixed content...but to no avail.

    I'm using XP Home with IE8, I'm not using any other browser.

    Are you able to help? Thank you.
    ReplyDelete

Asking a question ? Make sure to click the subscribe by email link below the comment form to get notified of replies !